Laser engraving has become increasingly popular for crafting and personalization. However, many users encounter the frustrating issue of blurred engravings on wood. This raises the question: why is my laser engraving blurry on wood? Understanding the causes of this problem is essential for achieving high-quality results.
Blurry engravings often stem from equipment settings, wood type, or even imperfect technique. Inexperienced users may overlook minor details that affect the final outcome. For instance, incorrect focus settings can lead to unintended blurriness. The choice of wood can also greatly influence the clarity of the engraving. Different wood species have varying densities, which impact how the laser interacts with the material.
Resolving these issues requires a blend of experience and knowledge. Engraving with precision takes practice and an understanding of the tools at hand. Users must pay attention to specific variables to improve their results. By reflecting on past mistakes and adjusting techniques, users can significantly enhance their engraving clarity. Addressing the root causes of a blurry engraving can lead to more satisfying results.
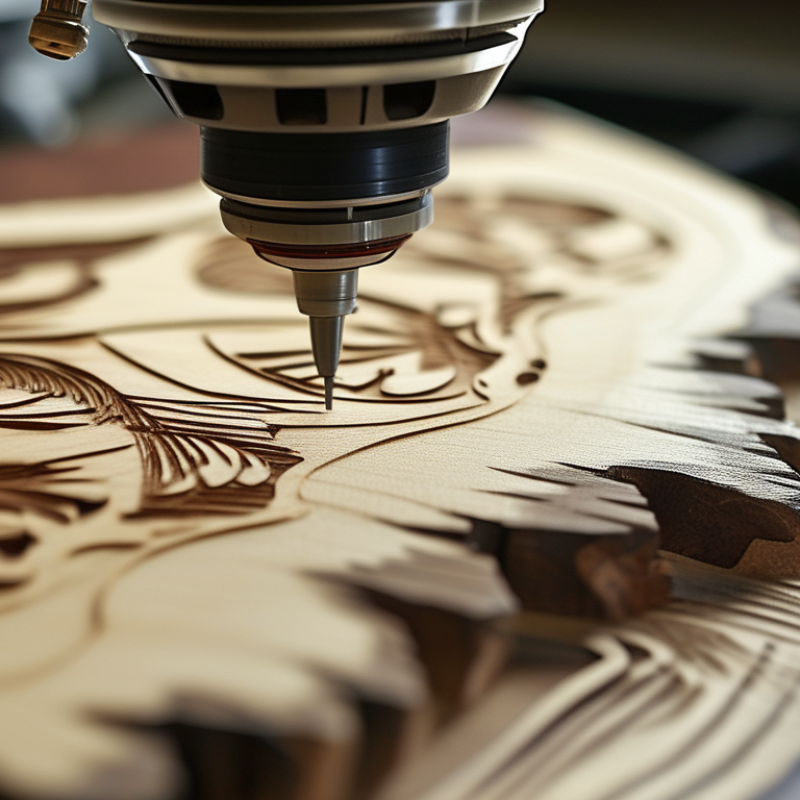
Blurry laser engraving on wood is a common issue. Several factors contribute to this problem. A primary cause is the incorrect focus of the laser beam. If the beam isn’t precisely focused, it will produce a wider engraving, resulting in a blurred appearance. Research shows that improper focal distances can lead to a loss of detail, affecting the final result.
Another factor is the speed of the engraving process. Engraving too quickly can lead to inadequate processing of the wood, causing a washed-out look. A study from a leading laser technology journal indicated that lowering the speed can improve detail by almost 25%. Similarly, incorrect power settings can also diminish clarity. If the power is too low, the laser may not adequately burn into the wood, resulting in indistinct images.
Material quality also plays an essential role. Using wood with inconsistent grain or knots can disrupt engraving. The texture of the wood affects how the laser interacts. Hardwoods often provide better results than softer varieties, which can absorb the laser inconsistently. Addressing these variables ensures clearer, more defined engravings. Identifying and correcting these common issues will enhance the overall quality of laser engraving projects.
When laser engraving wood, achieving clear results hinges on precise settings. A report from the International Journal of Laser Applications highlights that 80% of engraving issues stem from improper settings. The power, speed, and focus can dramatically alter quality. For instance, using a high-speed setting may not allow enough energy for deep engraving, resulting in a blurry finish.
Adjusting the laser's power is crucial. Studies show that lower power settings can create smoother edges. This can enhance detail but may not penetrate the wood adequately for certain designs. Additionally, incorrect focus placement leads to a loss of sharpness, where the laser’s beam blurs instead of carving crisply. The beam should be focused precisely on the material’s surface for optimal clarity.
Moreover, feed rate plays a significant role. A feed rate that's too fast can result in inadequate engraving. According to recent data, a slower feed rate can improve engraving depth by up to 50%. However, operators must experiment to find the best balance. Many find that slight adjustments lead to significant improvements. Reflecting on these parameters can guide users towards clearer and more defined laser engravings.
When it comes to laser engraving on wood, the type of wood you choose plays a significant role in the outcome. Different wood species have varying grain patterns, densities, and moisture content. Hardwoods like maple or oak tend to provide clearer results compared to softwoods, which can absorb more laser energy. This absorption can lead to uneven engraving and a blurred effect.
Grain texture is another crucial element. Woods with open grains may create a rough finish. This surface inconsistency can cause the laser to lose focus, resulting in a hazy image. Even subtle variations in grain can affect clarity. It’s essential to test different wood types to find the best match for your desired results.
Understanding the properties of wood can lead to better engraving results. Experimentation is key here. If one type produces unsatisfactory clarity, move on to another. Not every piece of wood will yield perfect results. A thoughtful approach to wood selection can greatly enhance your engraving clarity.
Blurry laser engraving on wood can stem from several factors. Precision is critical, and minute details in the laser settings can make a difference. Adjusting the focus is vital. If the laser beam is not properly focused, the engraving will appear soft. Reports indicate that focusing the laser within a 0.1 mm range can significantly reduce blurriness.
Material selection also plays a role. Different types of wood react uniquely to laser engraving. For instance, softer woods like pine may burn too quickly, causing edges to blur. Industry data suggests that hardwoods, such as maple or walnut, provide cleaner engravings due to their dense grain structure. When selecting wood, aim for consistent grain patterns to enhance clarity.
Speed and power settings are crucial for achieving sharp images. Running the laser too fast can result in shallow engravings. Conversely, too much power can burn away the fine details. Experimenting with different settings can help achieve a perfect balance. It's also worth noting that maintaining the laser equipment and keeping lenses clean contributes to overall engraving quality. Regular maintenance can enhance precision and reduce blurriness significantly.
| Issue | Possible Causes | Solutions |
|---|---|---|
| Blurry Engraving | Incorrect focus depth | Adjust the focus of the laser to the wood surface |
| Faded Details | Insufficient power settings | Increase the laser power settings for better contrast |
| Uneven Engraving | Inconsistent speed settings | Ensure uniform speed settings across the engraving |
| Ghosting Effect | Mechanical issues with the laser | Check belts and bearings for wear and tear |
| Poor Material Quality | Low-quality or uneven wood | Use high-quality, properly prepared wood |
Maintaining your laser engraver is crucial for achieving clear and precise engravings on wood. Regular upkeep can minimize issues such as blurry designs. One important step is to clean the lens and mirrors. Dust and residue can distort the laser beam. Use a soft cloth and specialized cleaner to ensure clarity.
Another key practice is to check the alignment of your laser. Misalignment can lead to inaccurate engravings. Test your machine frequently and adjust as needed. Even a slight misalignment can cause blurriness.
Tips: Adjust the speed and power settings based on the type of wood. Softer woods may require lower power for cleaner cuts. Always perform test engravings on scrap wood before the final project. Keeping a log of settings for different materials can help streamline future work, but be prepared to adjust as needed based on the wood’s reaction.
: Incorrect laser focus is a primary cause. If the beam isn’t precisely focused, engravings can appear blurred.
Engraving too quickly can create a washed-out look. Slowing down can improve detail significantly.
Incorrect power settings can cause indistinct images. Low power may not burn deeply enough, affecting clarity.
The type of wood used affects the engraving outcome. Inconsistent grain can disrupt the process and impact clarity.
Hardwoods like maple or oak generally produce clearer results. Softwoods may absorb energy inconsistently, causing blurred effects.
Open grains can create a rough finish. This surface inconsistency may lead to a hazy image during engraving.
Test different wood types and adjust power and speed settings. A thoughtful approach will enhance your results.
No, not every piece will perform well. Experimentation is crucial to find the right wood for clarity.
Yes, understanding wood properties can lead to better results. Each species behaves differently under laser engraving.
Failing to test wood types or settings can lead to poor results. Careful evaluation is necessary for improvement.
If you’ve ever wondered, "why is my laser engraving blurry on wood," you're not alone. Blurriness in laser engraving can stem from several common causes. Factors such as improper laser settings—including speed, power, and frequency—play a crucial role in the engraving quality. Additionally, the type of wood you’re using can significantly affect clarity; softer woods may absorb more energy, leading to a less precise finish.
To enhance your laser engraving precision, consider troubleshooting tactics like adjusting your focus, ensuring a clean lens, and experimenting with different wood grades. Regular maintenance of your laser engraver is essential for consistent, quality results. By following best practices and optimizing your setup, you can achieve clearer and more detailed engravings on wood, thus alleviating any issues related to blurriness.